
Pipes, bongs, vapes are all great fun but nothing beats the classic joint. Learning how to roll a joint is an essential skill that you can no longer ignore!
Are you someone who vapes because they couldn’t figure out how to roll a joint? Go here to find out how to use the abv (already been vaped) weed!
Do you know someone who is not a fan of smoking, but is still curious about cannabis? Check out how you can include them in the fun!
Learning How to Roll a Joint (For Beginners)
What you will need: rolling papers, cardboard for filters, and, of course, half a gram of your favourite cannabis.
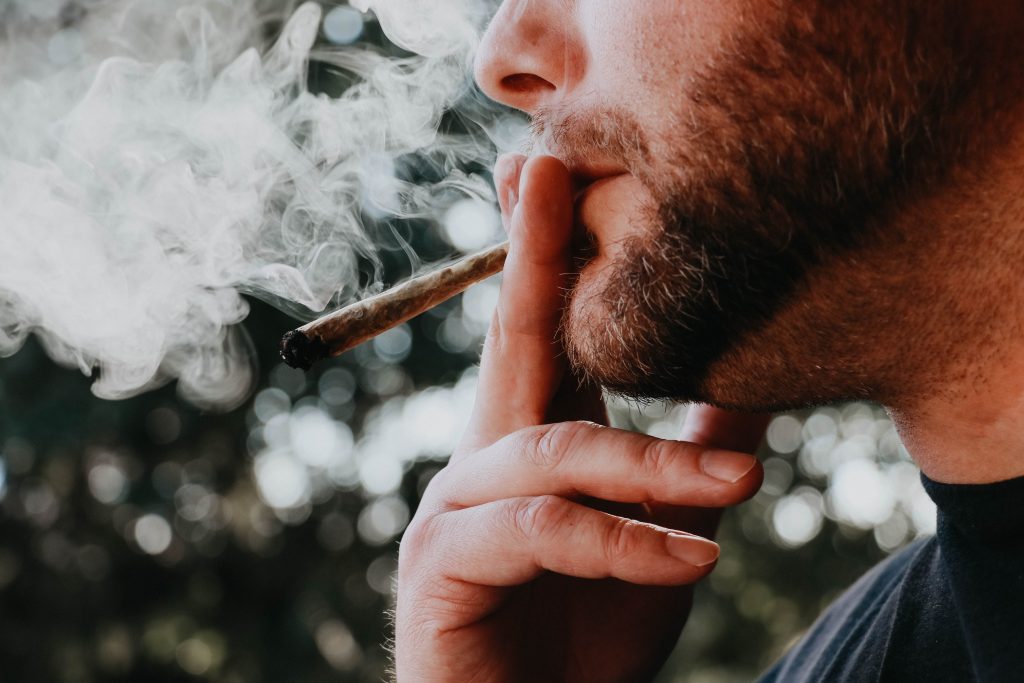
Table of Contents
The Weed:
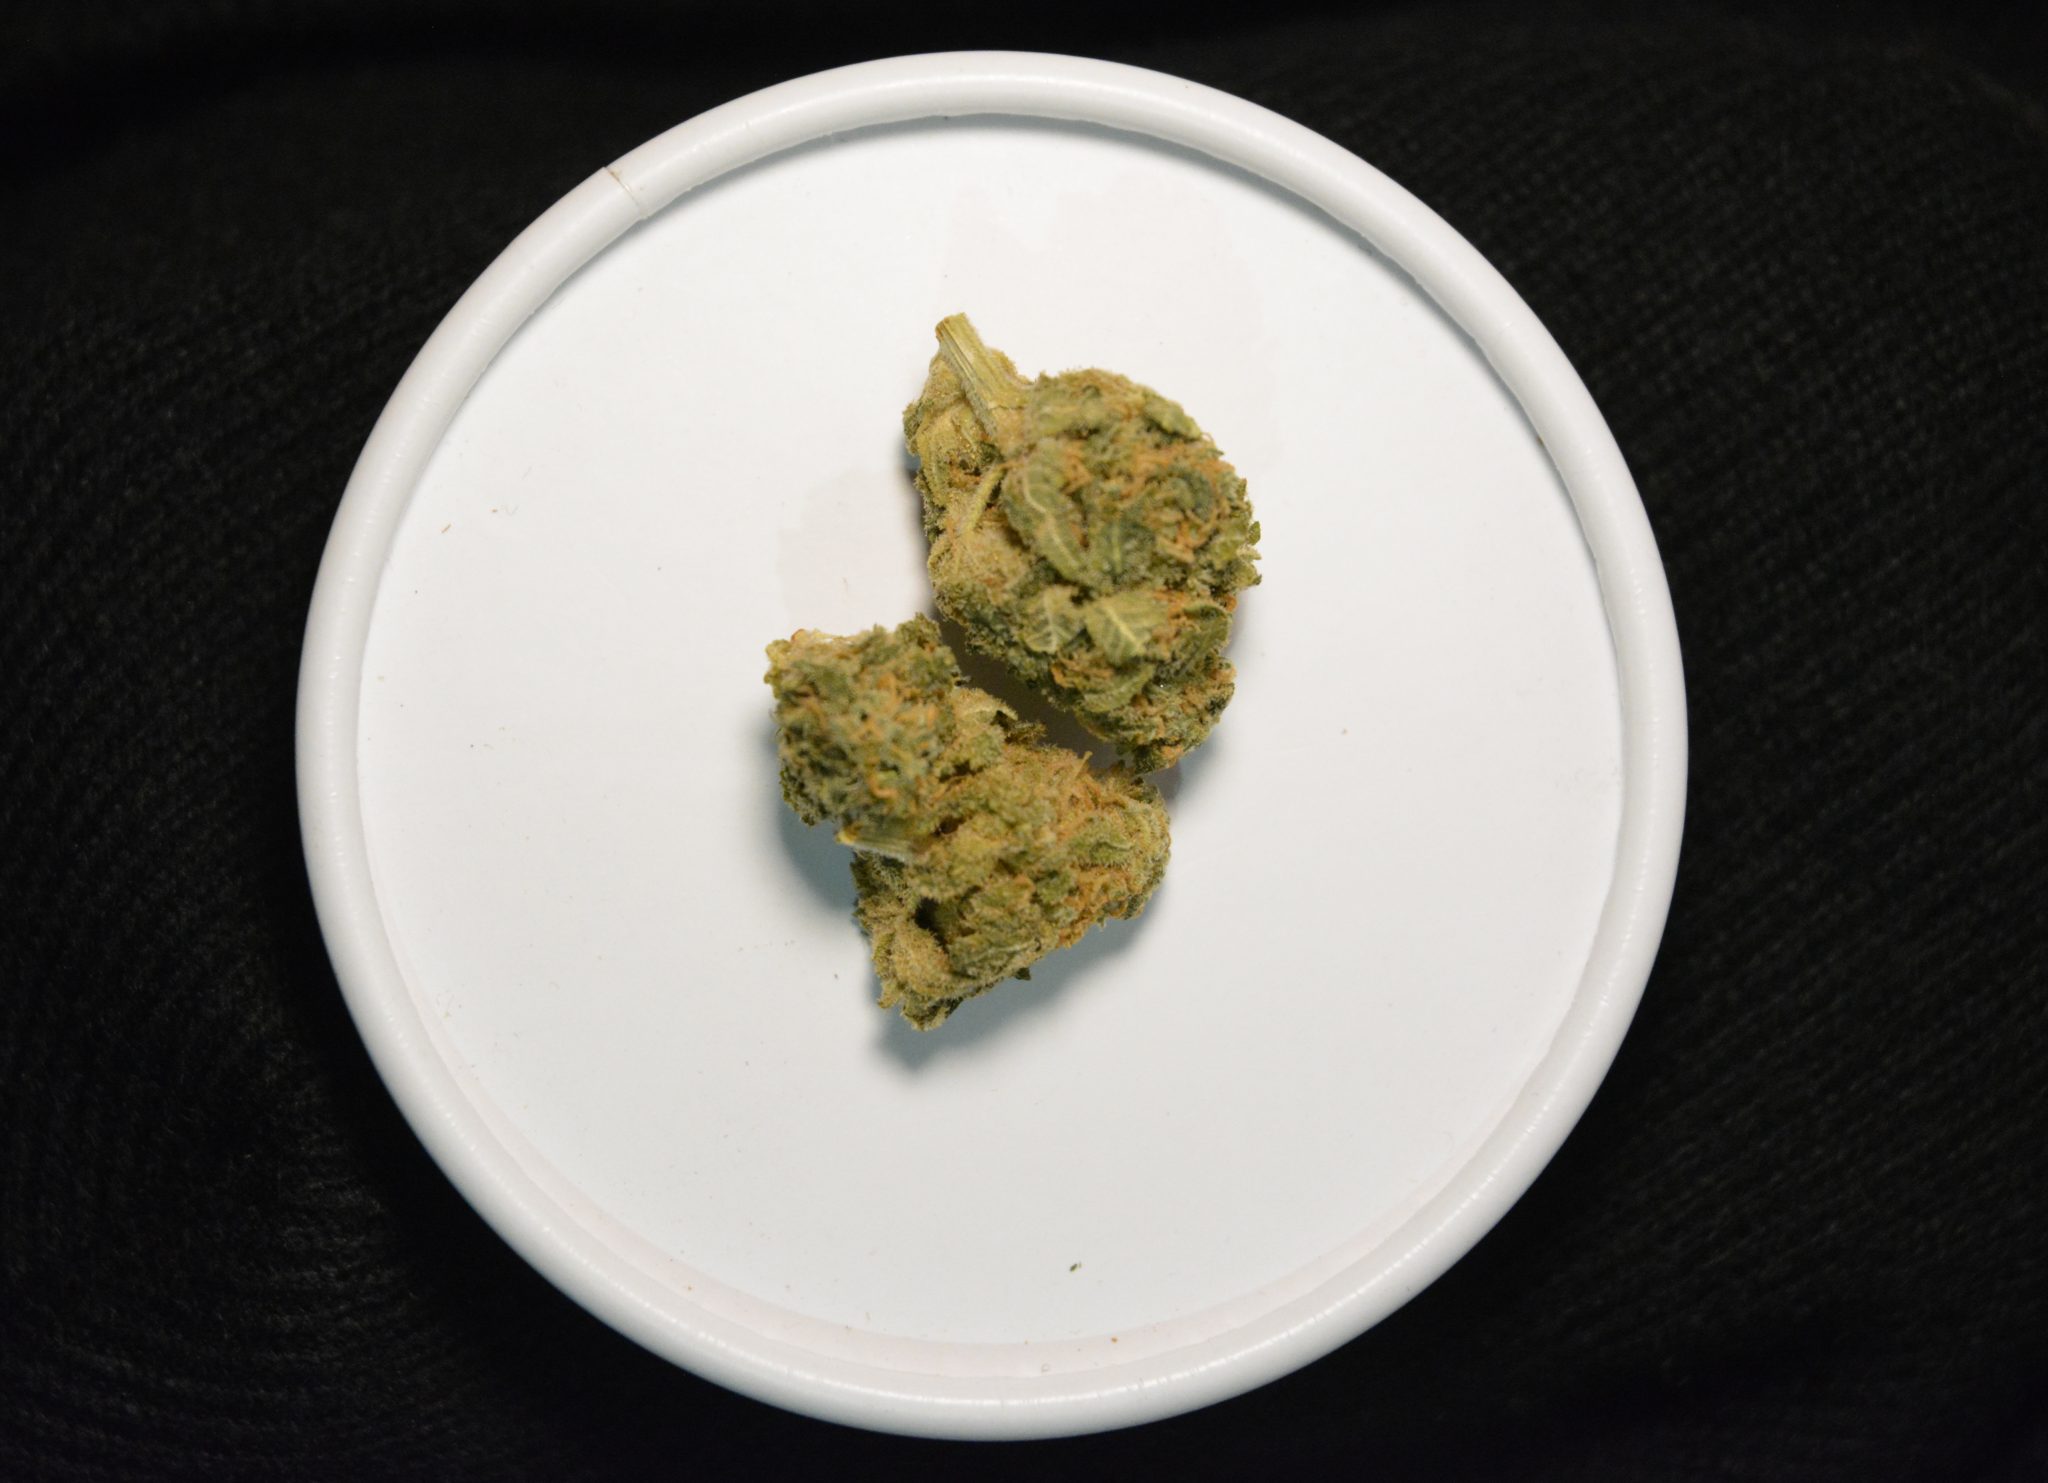
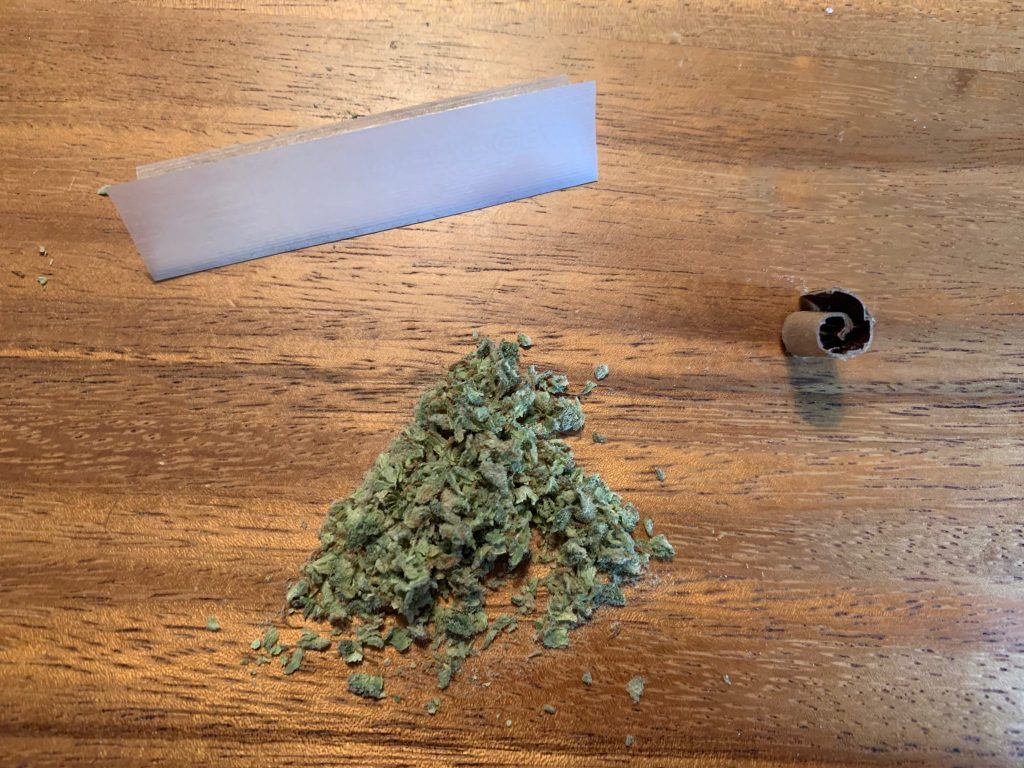
Picking some good weed for rolling is essential when rolling a good joint. I don’t just mean the strain- you need to pay attention to certain physical aspects of the bud itself.
Avoid choosing cannabis nugs that are overly dry. You can tell if a nug is dry often by just looking at it, but you can best tell by its feel. Dry cannabis will easily crumble between your fingertips and has the consistency of dried tea (or dried herbs, it’s a plant!).
On the other hand, sometimes cannabis can be so dank that it becomes hard to roll and smoke. Dankness makes the cannabis slightly adhesive, which makes it stick to the paper, blocking the flow of air in your joint.
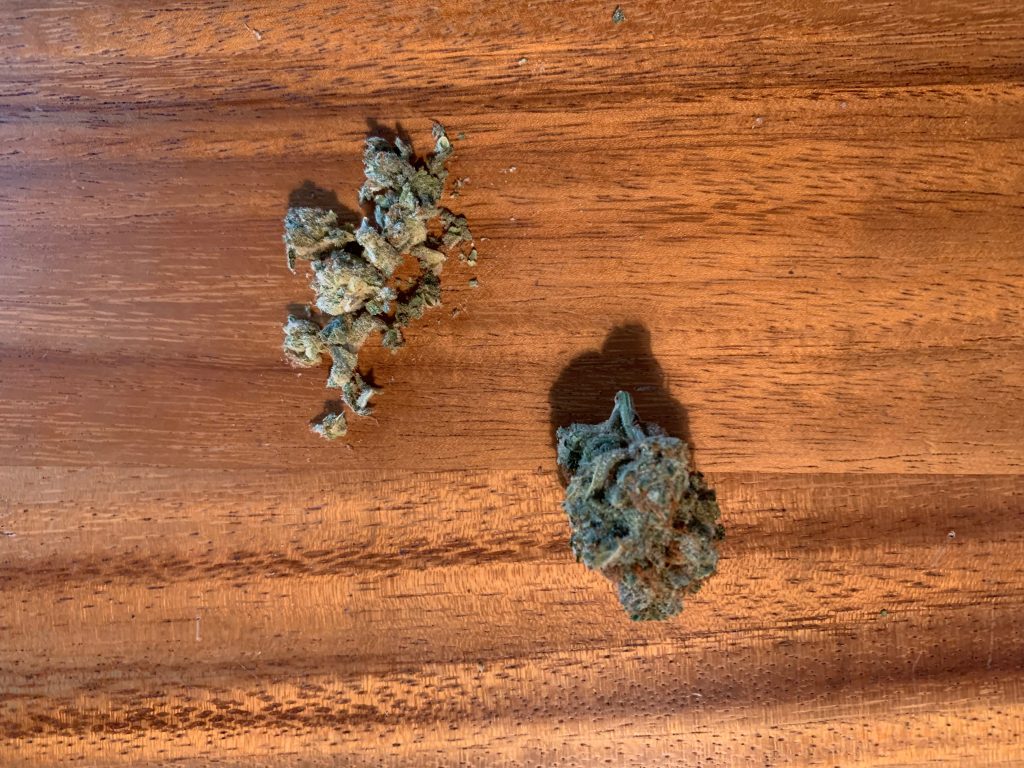
Bust up your cannabis into small chunks. If they aren’t small enough, the weed won’t burn properly in the joint, likely causing runs (when the fire burns all the way up one side, ruining the structure of the joint) or blocking airflow. Make sure you also avoid overdoing it, because if the cannabis is busted up too small, it will make it harder to create airflow in between the chunks of weed, thus making it difficult to smoke.
Be sure to remove any little bits of stem, as they will poke a hole through the side of your joint. If you find any seeds in your cannabis, also remove them.
Now that you have your weed busted up into a nice little pile, let’s move on to your rolling equipment.
The Papers:
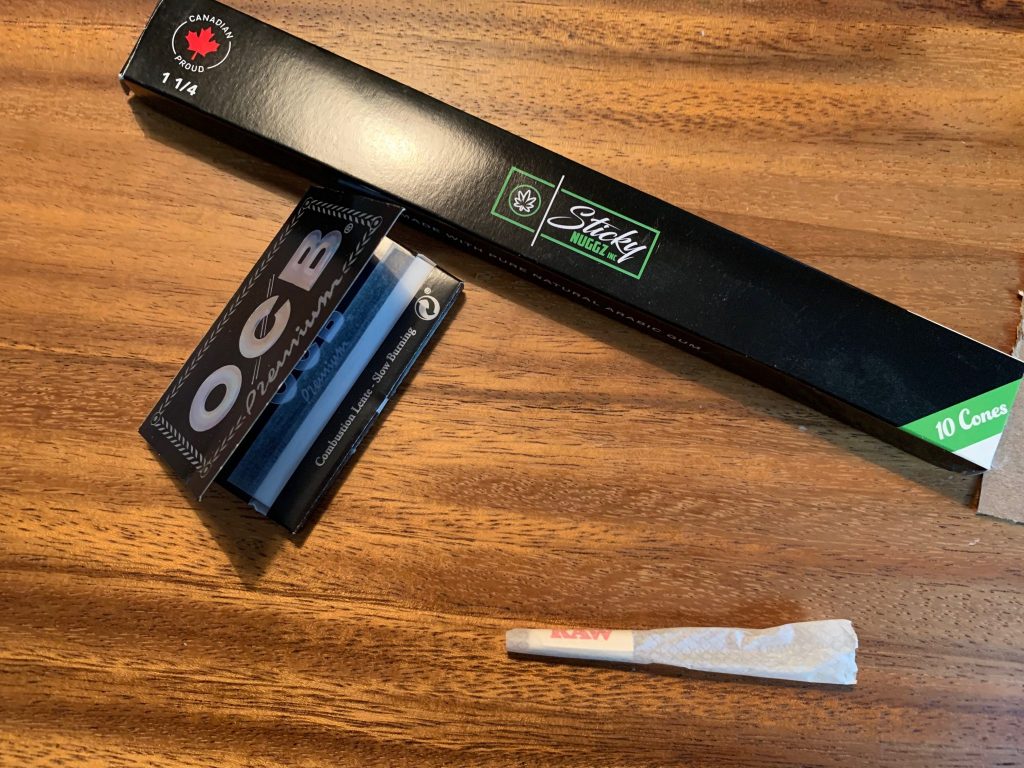
As this is an article for beginners, I’ll be discussing and demonstrating the standard Single-Wide rolling paper. It is easier to learn how to roll a joint with a bigger paper, such as a 1 ¼”, but most people only have the good ol’ Single-Wides on hand (though no one actually calls them Single-Wides, just papers).
Finding a paper that’s right for you is very important for the cannabis consumer. Personally, I avoid thick papers (and I know lots of people who also avoid these “horse-blankets”). In my opinion, thinner papers are easier to roll with and burn better (which means burn evenly on all sides of the joint, preventing runs). I also tend to avoid longer papers (which often come in packs of 20), as it’s cheaper to buy the smaller version (which often come in packs of 100).
Everyone tries novelty papers once. Usually just once. My days of foot-long party papers shared between a dozen people are long over.
You can easily pick up a pack of rolling papers from any dispensary, and also head shops, smoke shops, and depending on where you are, convenience stores, grocery stores, gas stations, etc.
You can get big brand names like Zig-Zag and OCB (both originating from France). You can also get papers from smaller Canadian companies like Sticky Nuggz, which come from Toronto. Basically, papers are everywhere!
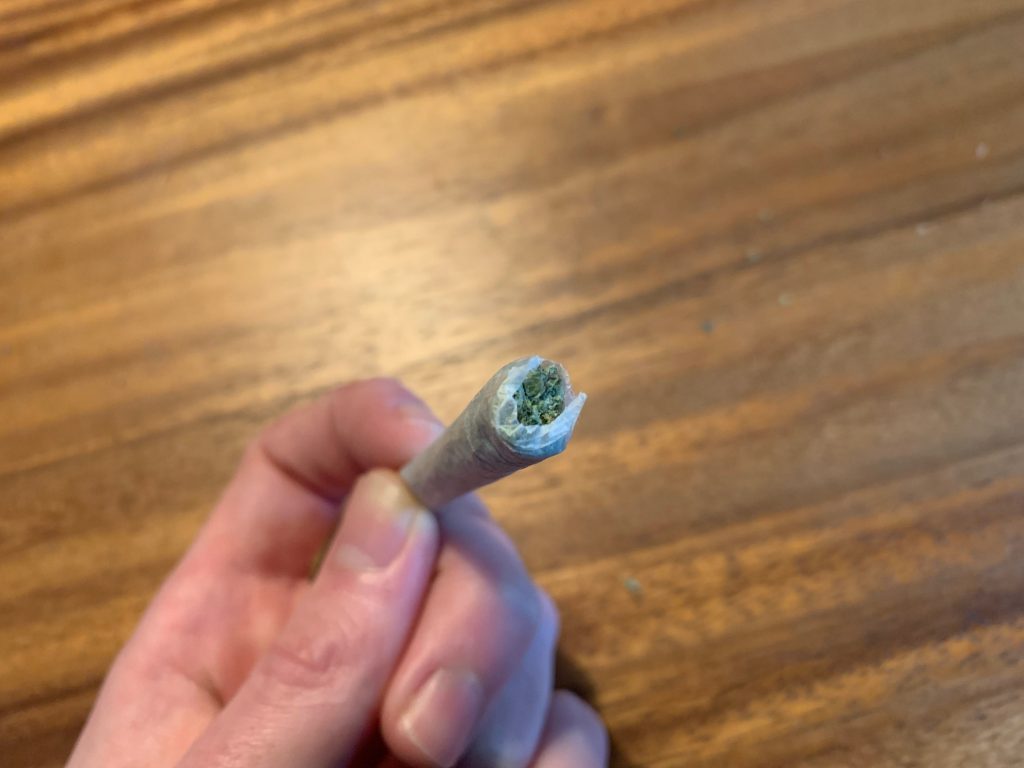
The Filter:
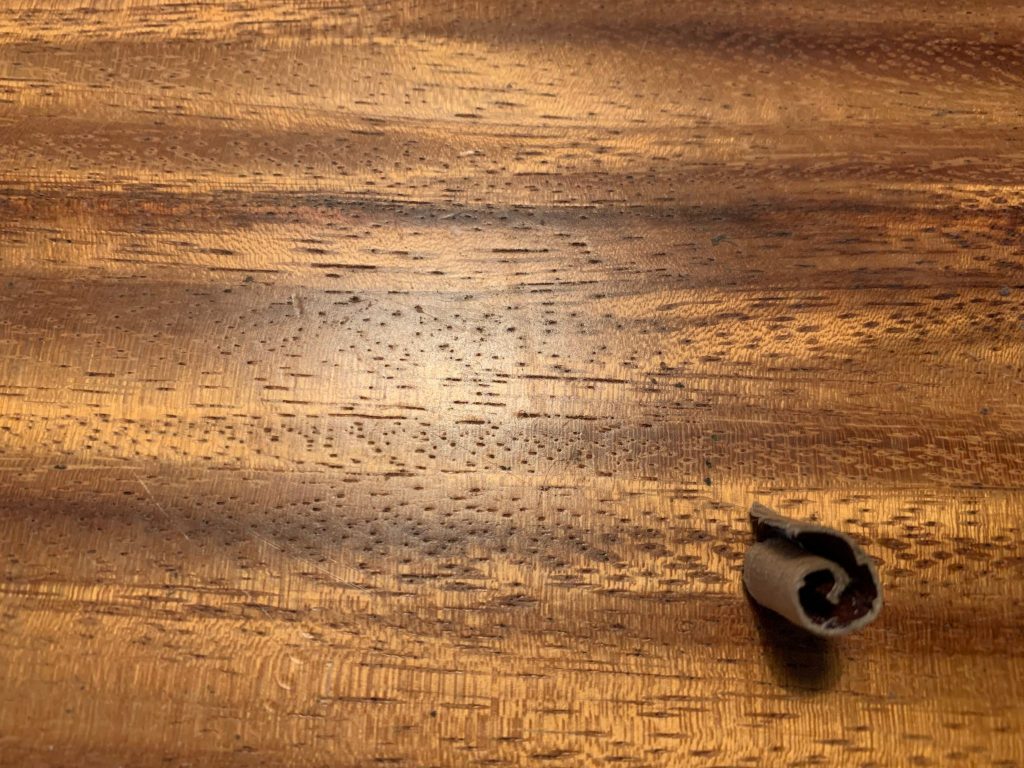
The last thing people think about when learning how to roll a joint is the little piece of cardboard that prevents them from eating the weed. However, a filter is much more than just a filter- it also acts as a foundation to the joint itself. Having a well-constructed filter is key to keeping a joint long and strong.
Picking the right material for the filter is crucial. The filter is the structural foundation of the joint, so you need to pick a strong material (relative to the rolling paper). Thin cardboard is generally the best option, and you can find that anywhere. I personally don’t recommend buying filters, as you can get plenty from your recycling at home (granola bar boxes have been my filter for years).
Choosing a length for the filter depends on the size of the paper you chose, as well as how much weed you intend on smoking. Generally, you want to avoid rolling the joint too short, as that would make it harder to smoke (burnt lips aren’t fun), so you would compensate for less weed with a longer filter.
For a small personal joint, you might want to roll a longer filter, as you are consuming less weed, thus would need to fill more space in the paper. This will save you from rolling a joint that’s too small to consume comfortably. Sharing a joint with someone else could require a small filter, as you are going to add more cannabis to the joint, thus having less in-paper space to work with.
How you put the filter in the joint is another thing, but we’ll discuss that in the method section below.
The Method:
If you’ve made it this far, it’s assumed that you have your paper, your filter, and your nice little pile of broken-up cannabis ready to go.
You are ready to learn how to roll a joint.
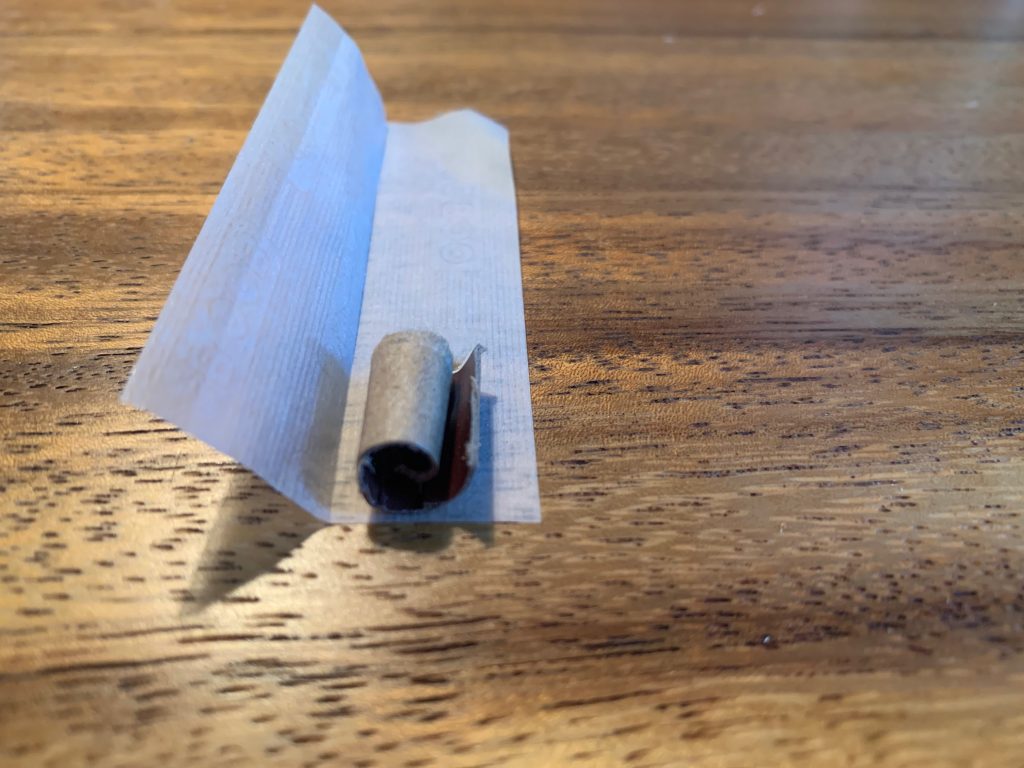
Step 1 – The Placement
Make sure that you have the paper facing the right direction. The adhesive line (the licky), should be facing you. If the licky is facing away from you, then you are going to lick the wrong part of the paper and it won’t stick. The joint will come unraveled while you are smoking it, which can result in a burn (or at least a mess).
That’s not even a rookie move, that’s just a human error usually made while watching movies.
Once that you have ensured the paper is facing the proper direction, you can drop the filter in the paper. The direction of the filter is also important because the way the filter is rolled gives the end of the rolled filter a little edge that you will use to keep the paper in place as you are rolling. That will be explained below.
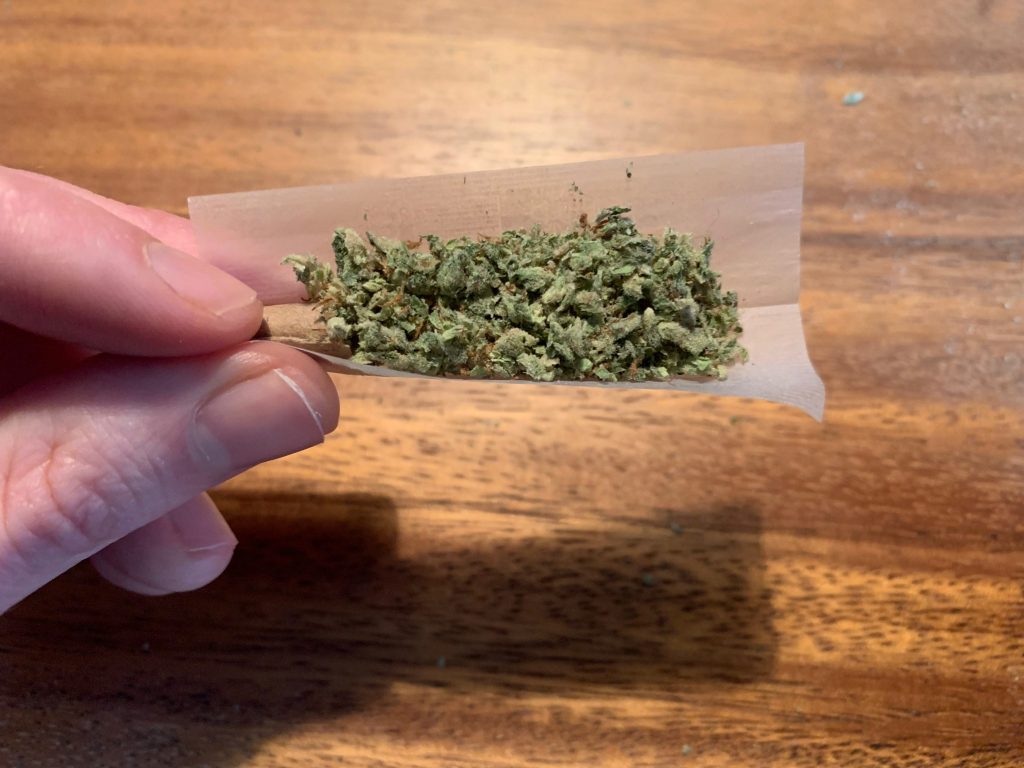
Step 2 – The Fill
Once you have the paper in the right direction and the filter in place, you can proceed with filling the joint with weed. You need to remember to even out the weed as you place it in the joint because the weed won’t even itself out.
Make sure to hold onto the filtered part of the joint with one hand, while filling the rest of the joint with your other. Pinch the filter through the paper to ensure that the filter stays in place as you even out the cannabis.
Step 3 – The Inside Roll
Assuming that the weed has been properly evened out, this should be easier than you expect. The goal here is to create a cylinder of weed inside the paper. The hand position for this is basically pinching your thumbs to your index fingers, with your middle fingers below acting as the support.
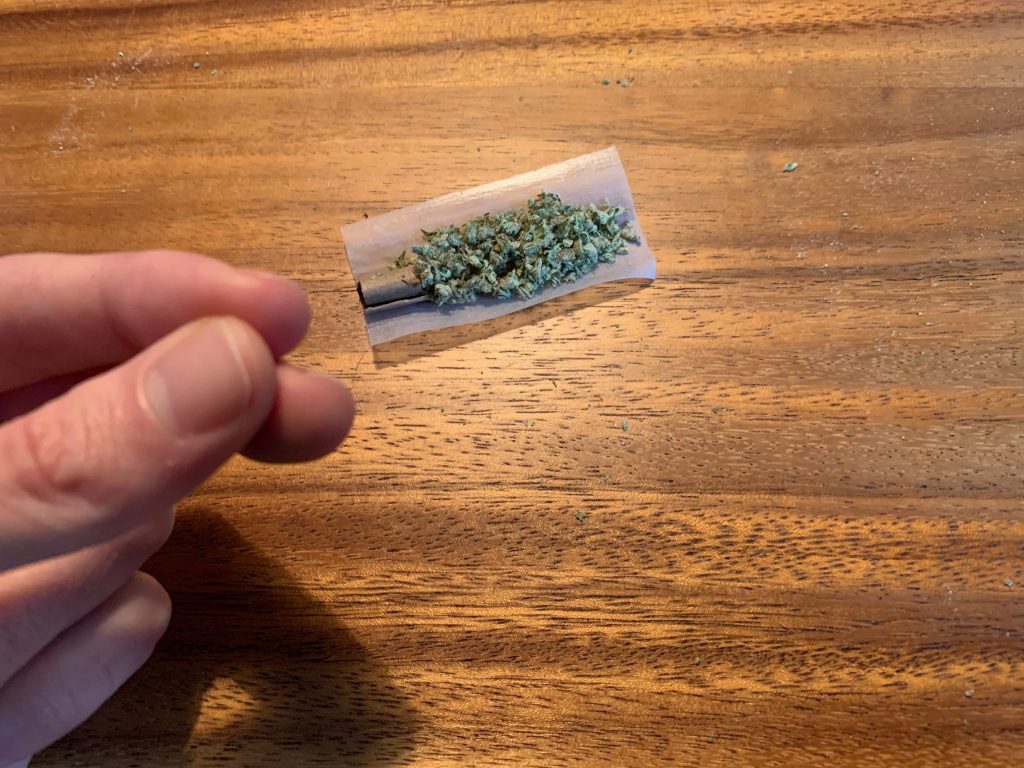
While pinching the two sides of the paper together (between your thumb and index finger) you can “roll the joint” by moving your thumb up and down, while using your index finger as a solid backing. The middle finger is the support to keep the joint in its place while you are rolling up the weed inside. One thumb should be above the filter at all times because the filter width is roughly the width of the joint itself.
You’re going to be pushing weed back in the joint (on the opposite end of the filtered end). If a little weed falls out, you can put it back in on the last step. If a lot of weed falls out, you might want to start again from Step 1.
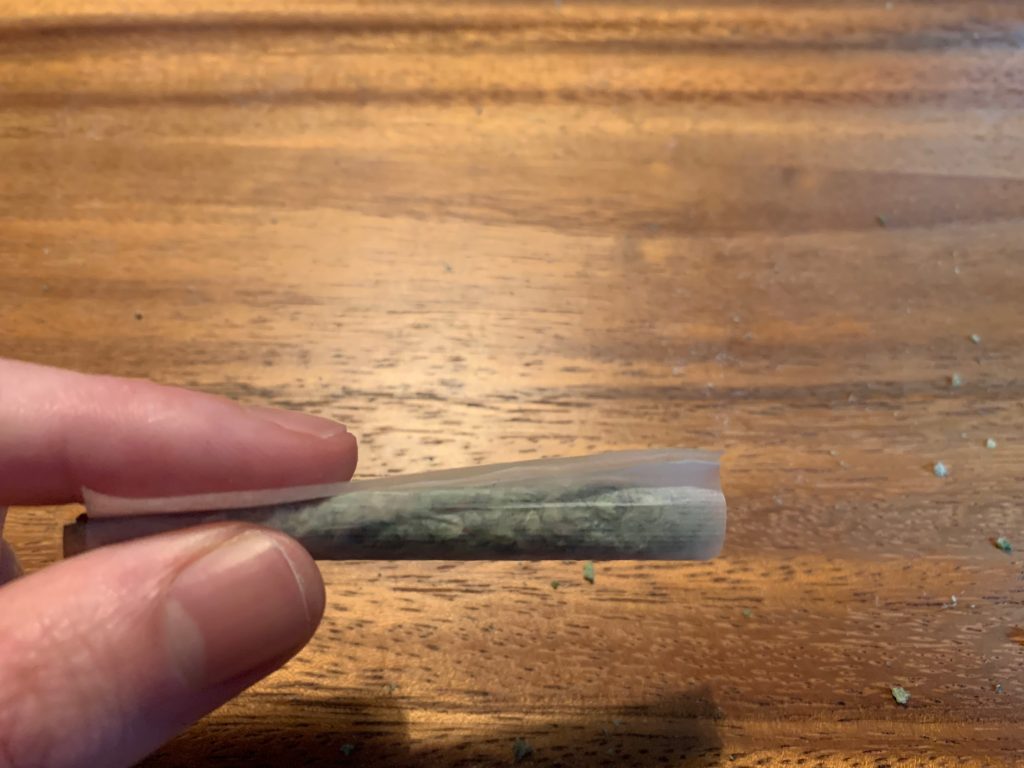
Once you have formed a cylinder of weed inside the paper (make it long and strong but not so tight as the air can’t pass through), then you can proceed to lock it in place with the following steps.
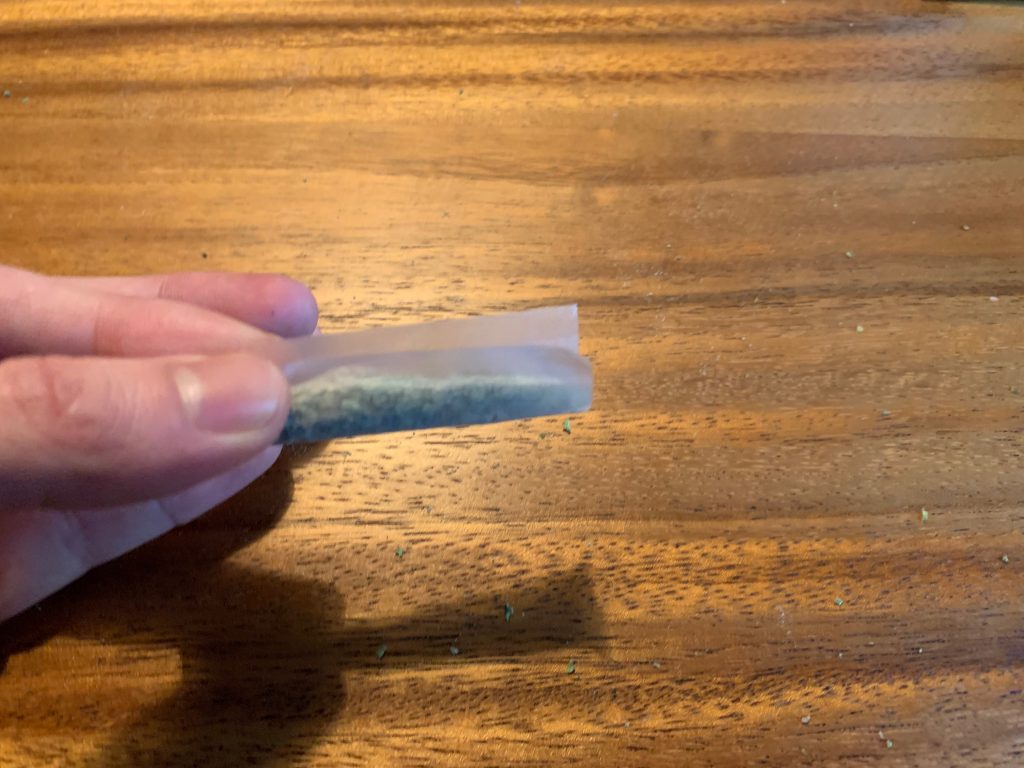
Step 4 – The Tuck n’ Roll
Arguably the hardest step in learning how to roll a joint.
Having the cannabis adequately formed into a cylinder, you are ready to lock it in. If your filter is also facing the right direction, then you will have a little edge to hook the paper over.
To do this, you need to roll the paper (using your thumbs to roll and your index fingers as a backing) all the way down so that it’s barely covering the cylinder of weed and filter. Once the edge of the paper is as low as it can go, then you can hook the paper into the edge of the filter.
After hooking the paper over the edge of the filter, you are ready to begin the actual roll. With the paper tucked in over the edge of the filter, slowly roll the filter (and paper) by moving your thumb upwards while the filter (and paper) is held between your thumb and index finger.
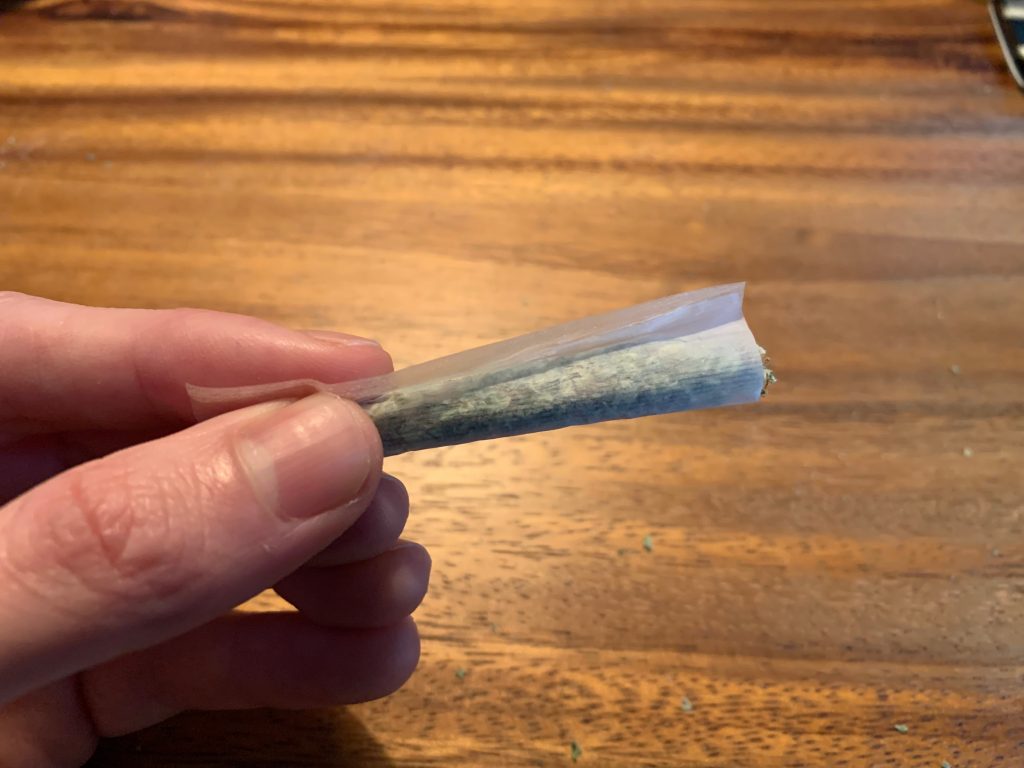
Once you are about halfway up the paper (towards the adhesive line), run your thumb along the width of the paper, from the filter to the other end, so that it tucks in the rest of the paper behind the cylinder of weed. If you successfully have all the paper tucked in behind the cylinder of weed, then you can proceed to finish the roll, using both your thumbs working in synchronicity. Push the rolled joint up towards the adhesive line.
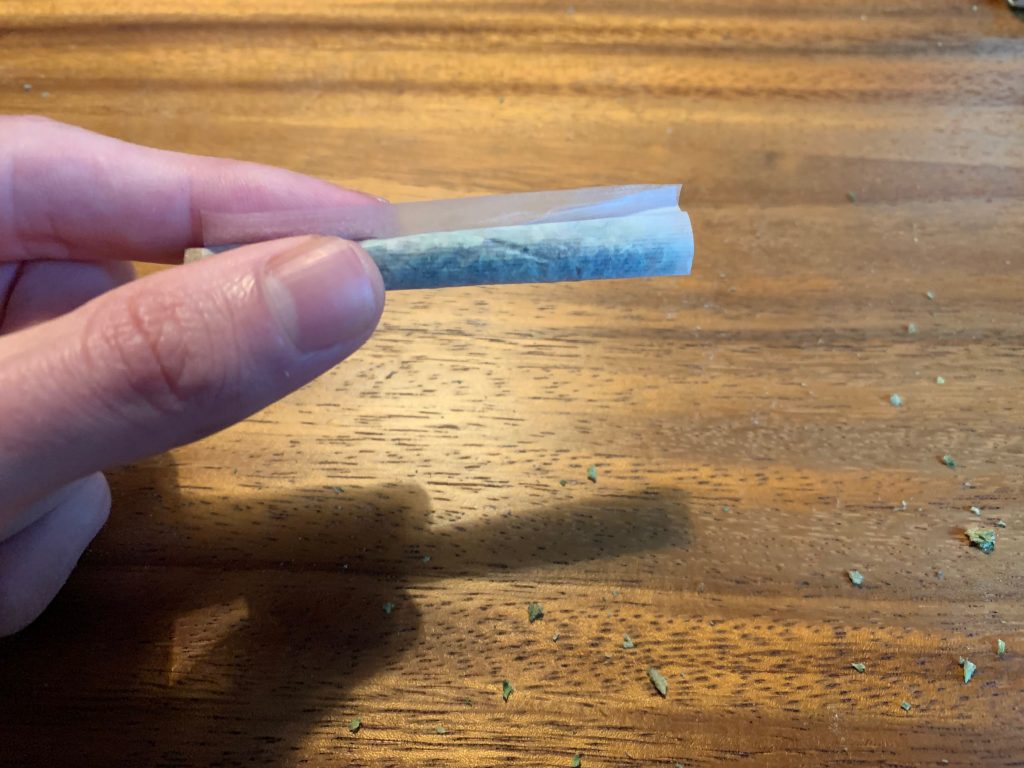
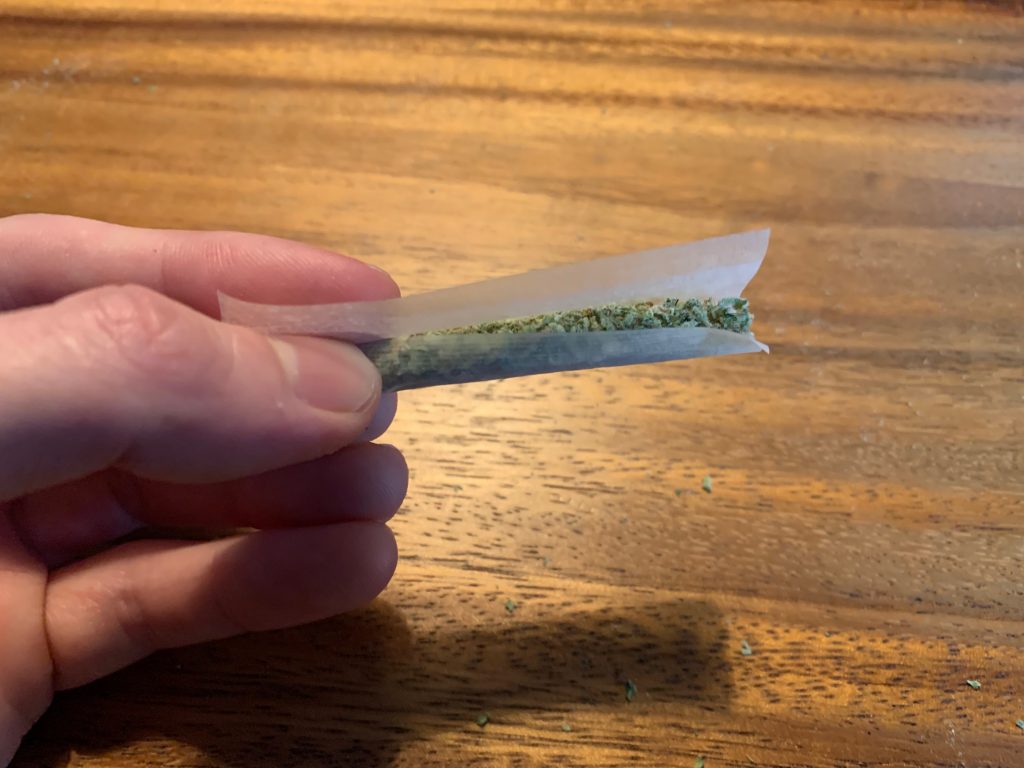
Step 5 – The Lick
Arguably the easiest part of learning how to roll a joint.
Now that you have the joint mostly rolled, this is where you truly lock it in to become the finished product. The only pit of paper that should currently not be rolled into the joint is the adhesive line (the licky).
Like sealing an envelope, lick the adhesive line from left to right. Once the line has been wetted, use both of your thumbs, again in synchronicity, to finish the job. Roll the joint the rest of the way, with the now-wetted adhesive line lying flat on the joint.
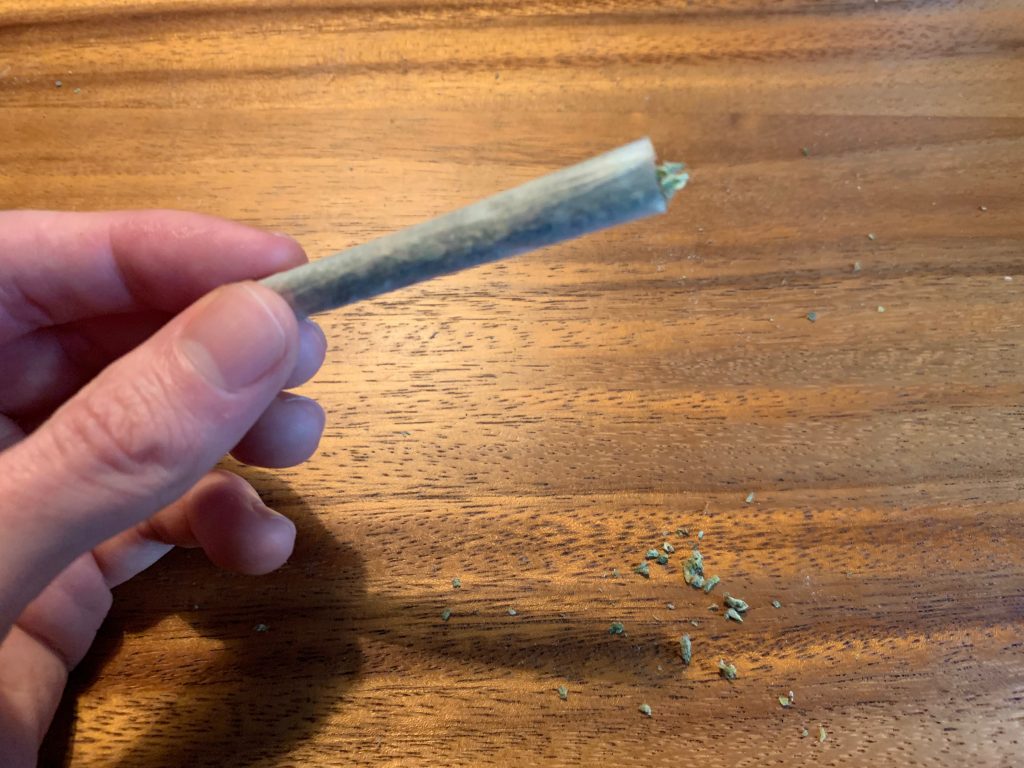
Bonus Pro Move – The Fold n’ Rip
The classic joint usually has a twist at the end. I’m here to argue that there is a better and cleaner way to finish the job. I pinch the non-filtered end of the joint and shake it like a polaroid picture (but not too hard so that the filter goes flying). This ensures that the weed is compacted slightly into the joint, preventing uneven burning.
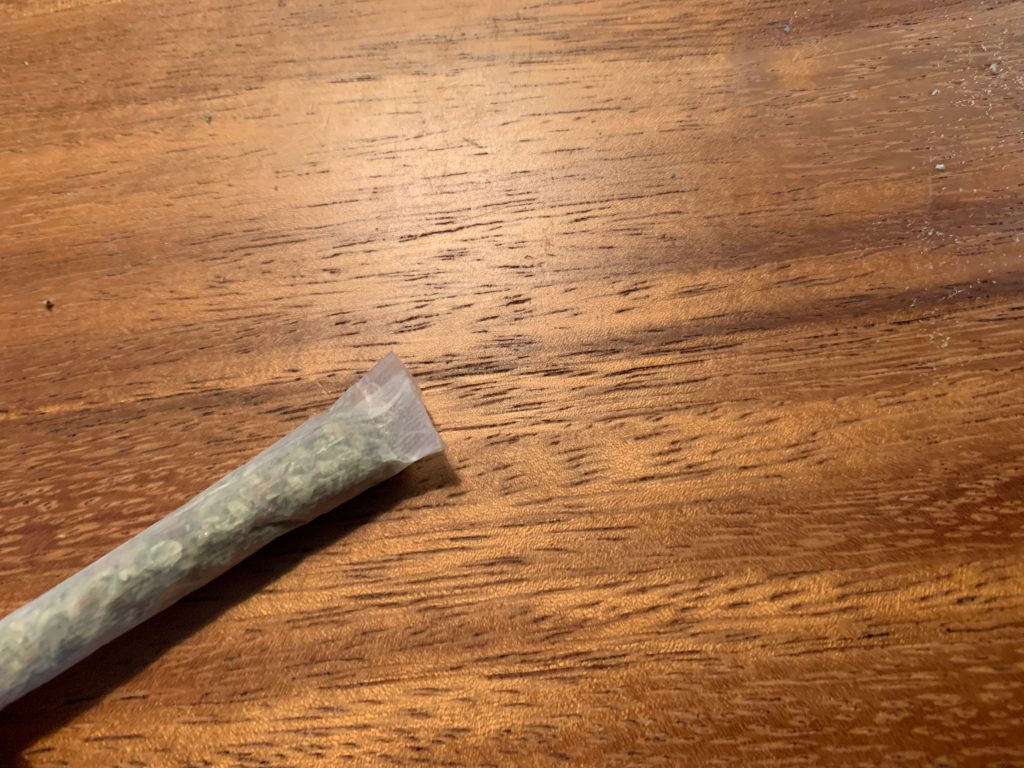
If you do this properly, you should be left with some space at the end of your joint. At this point, you need to pinch together the empty end followed by folding it together. This does the same thing as the classic twist, but it makes it burn more evenly. You will rip off this empty end before lighting your joint, as it will now be flat-ended like a cigarette.
Congratulations! You have now rolled a joint.
In case the article wasn’t enough to teach you how to roll a joint, here is a video that might be able to add some visual detail to the above steps!